It would have been very easy if web hosting was as easy ab web surfing. However, the reality is a bit complicated. It is very complicated to host your own website. Here we will be sharing guide to host your own website.
Why Is It Difficult To Host Your Own Website?
Now, first you need to know why is it difficult to host your own website. There are following reasons for it.
- Dynamic IP addresses
- Electricity costs
- Bandwidth constraints
Windows: How To Host A Website Using Your PC As A WAMP Server?
Here we will be sharing the detailed steps for this process.
If you want to host your website on a minimum yearly cost with fastest speeds then you may also check some packages of Triwor.com or feel free to contact us to give you best deals of hosting.
Step One- Install WAMP Software
This step is made easy by using the WAMP installation program called WampServer. You can choose to do it manually as well but that it is a time taking process. Also with a risk of errors.

WampServer
So, you need to first download 32-bit or 64-bit WAMP-binary and then install by following the instructions.
Step Two- Using WampServer
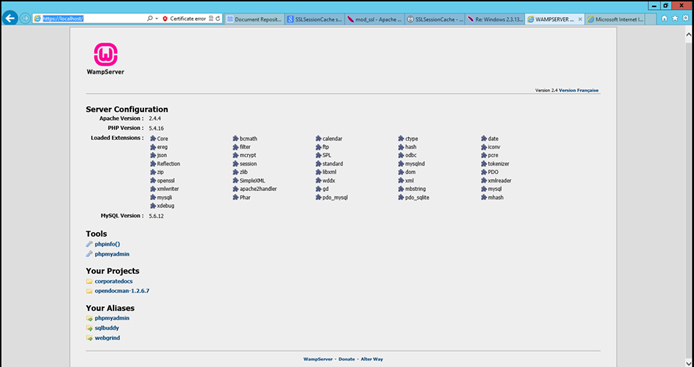
Once it is installed, you will find a directory at c:\wamp\www. From the directory, you have to create some sub directories. And then put any PHP or HTML files within the sub directories.

wampserver local host
Step Three- Creating An HTML Page
Now, for testing of the server, you can simply put the example file “info.php” into the directory. Then go to the directory by clicking “www directory” in the menu of the WampServer. There you an create a new file with following contents.
Step Four- Configure MySQL
You can start configuring the MySQL databases by clicking on the phpMyAdmin menu option. This screen will open a new browser window. From there create the databases and alter the already existing ones.
Step Five- Make Site Public
Now, by default any incoming HTTP connections will be denied by the Apache configuration file. Exemption in case that is a localhost.
In order to make your site available publicly, you need to Apache configuration file (httpd.conf). This can be done by going to the WampServer menu. And then clicking “Apache,” and selecting “httpd.conf.”

And after this you have to restart the WampServer services.
Step Six- Using A Domain Name
You will need to configure some file before you start using the domain names. For instance, example.com domain has an A record in your DNS with the IP address 100.100.100.100. So, first, we need to add the following line to the C:\Windows\system32\drivers\etc\hosts file.
Then, edit httpd.conf again (accessible via the WampServer menu) to add a virtual host. Once that file is open, look for “Virtual hosts,” and uncomment the line after it, like this:

Then manually add “C:\wamp\bin\apache\Apache-VERSION\conf\extra\” (VERSION is your Apache version).
Next step is to create a file in Notepad with the following content. And save it in that Apache directory.

Step Seven
In end you have to click “Restart All Services” in the WampServer menu. This will activate these changes. Now your site should also be accessible via its domain name.


 PAK
PAK US
US